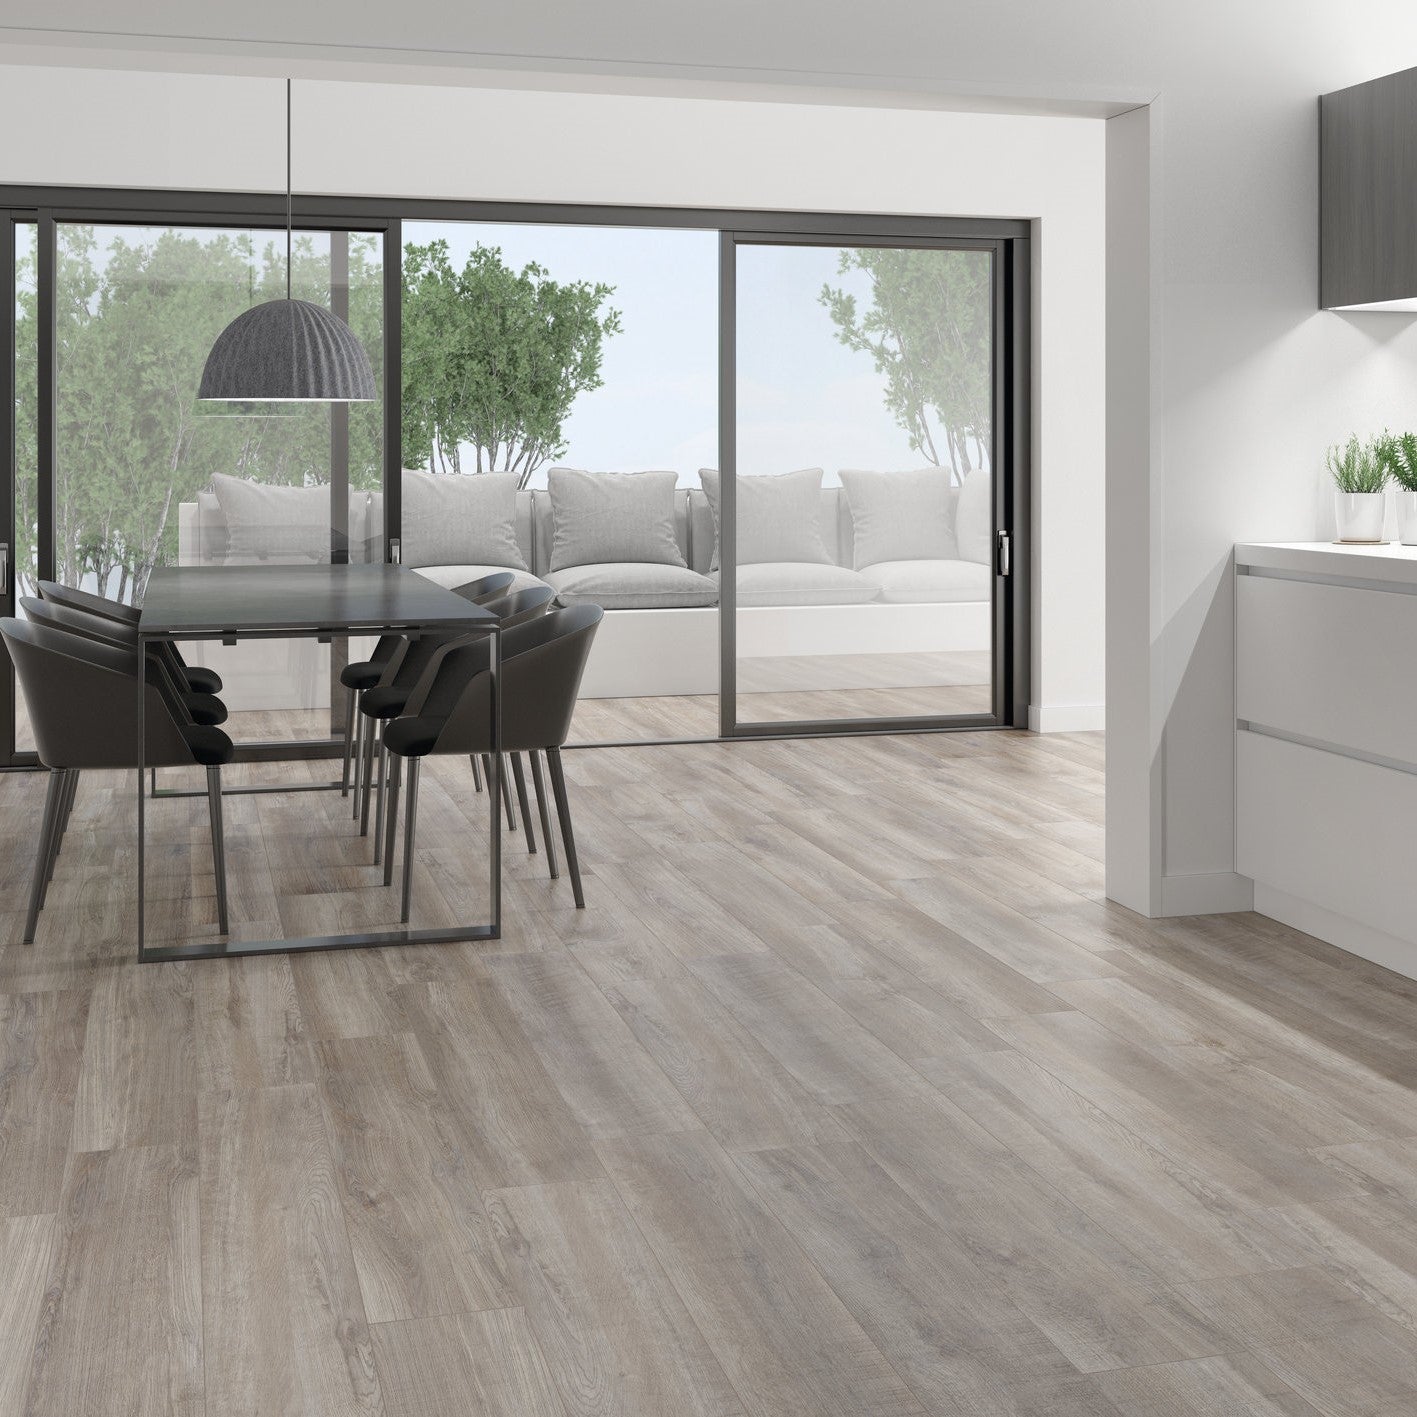
Welcome your home to innovate new floors with luxury vinyl plank flooring. One of the most popular floor types today, with vinyl plank flooring you receive the detailed design benefits of traditional floors but with all the lifestyle benefits of vinyl – the best of both worlds. Our flooring is incredibly hard-wearing, making it suitable for busy homes and commercial spaces. Many homes that you might have assumed had wood floors were very possibly luxury vinyl floors. Because of its durability and cost-effectiveness, vinyl plank flooring is ideal for new home renovations as well as giving individual rooms a mini-makeover. Our vinyl plank flooring is made to be installed by you, giving you the luxury of high quality floors without the cost or hassle of finding a contractor. These vinyl planks can be laid down with the tools that most homeowners already have in their toolbox – and if not, these will be incredibly useful items for DIY projects to come. If that hasn’t already got you searching on our website, vinyl plank flooring’s popularity means that there’s an endless selection to choose from so anyone can build their dream home.
Overtaking Laminate Flooring
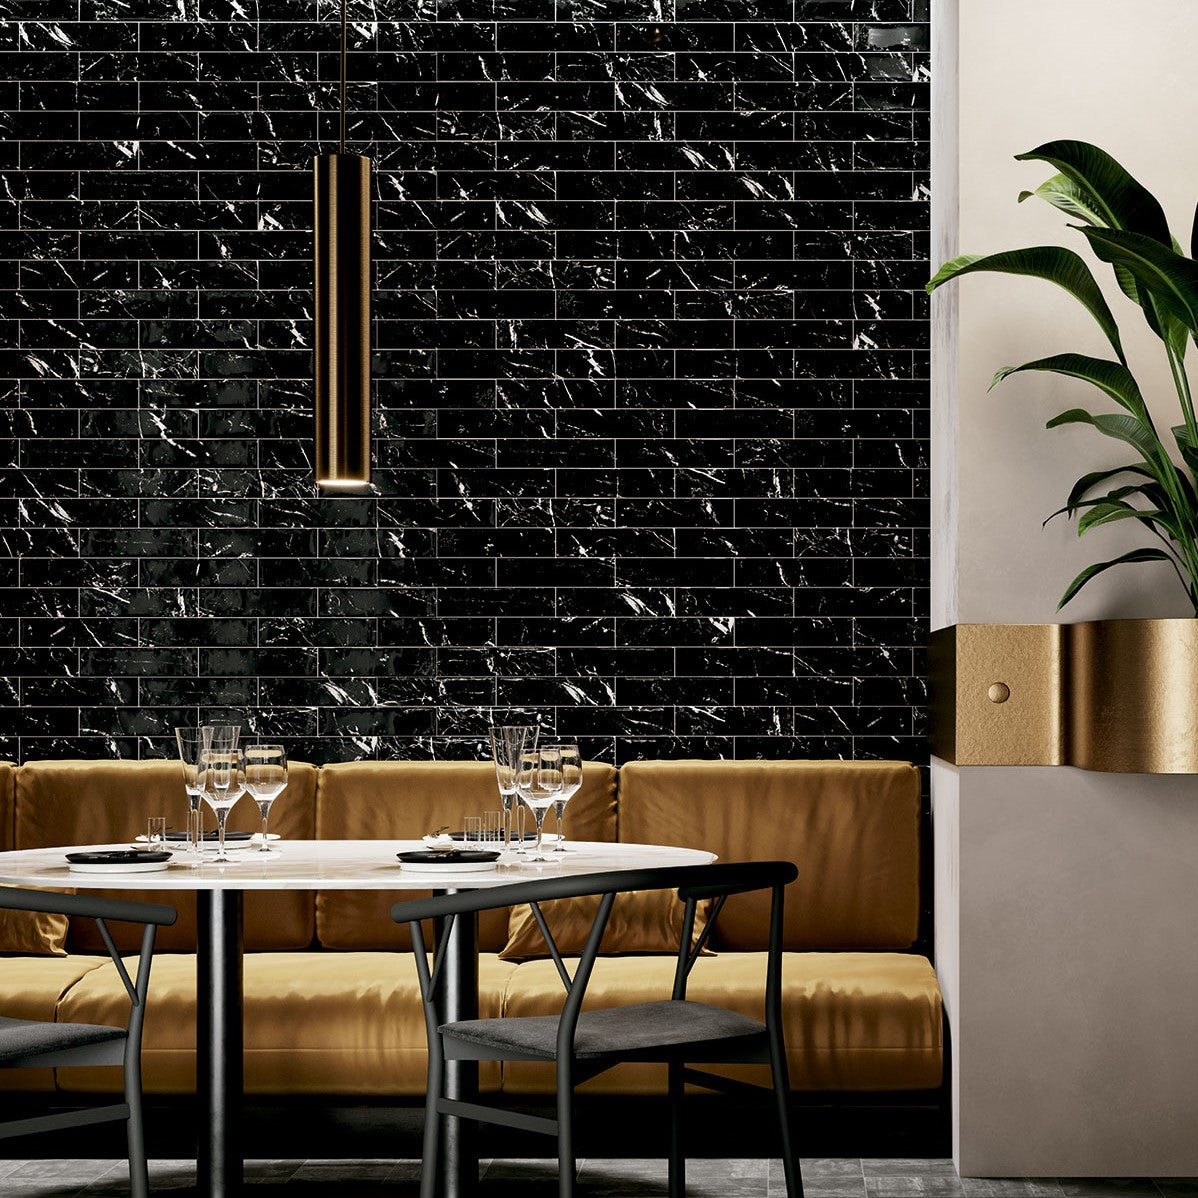
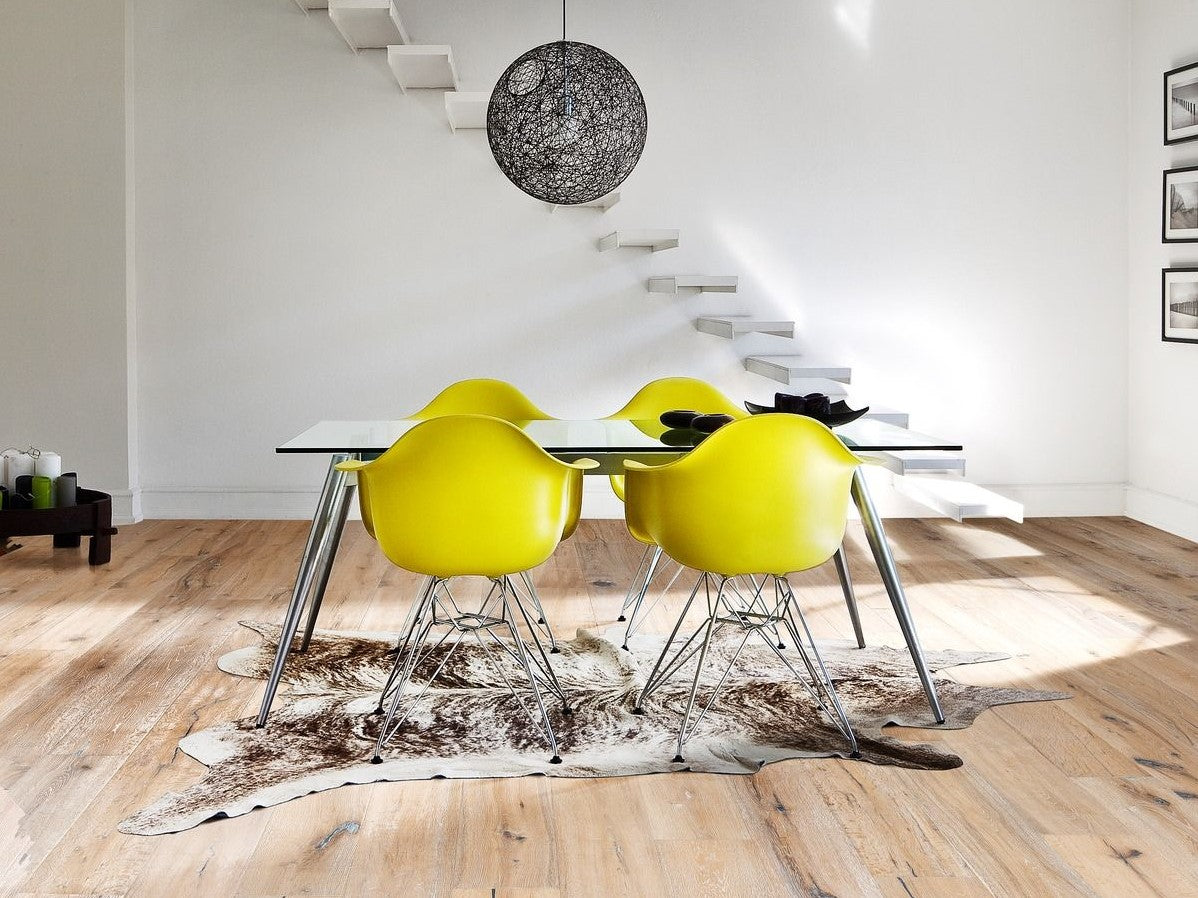
Laminate floors used to be the frontrunner in user-installed contemporary flooring, but luxury vinyl plank flooring has swept them under the rug. It’s much more flexible than laminate flooring, which remains rigid due to its layered construction. Vinyl floors are totally waterproof, with no visible bending or discolouration, making it ideal for kitchens and bathrooms. Finally, while laminate may be cheaper initially, the floors need to be replaced at least every 10 years, whereas vinyl floors will last up to 20 years with little to no upkeep.
Source: Hardwood Floor Store
Even More Reasons to Go for Vinyl
Vinyl planks mimic single floorboards, resulting in an exceptionally natural effect
Floorboards will snap together for unbelievably easy installation – perfect for even the most novice DIY homeowner
Cost-effective, particularly when in comparison to traditional hardwood floors
Lots of textured design options mean no compromise in customisation
Incredibly durable due to an extra hard-wearing upperlayer that offers thick protection
Any Last Questions?
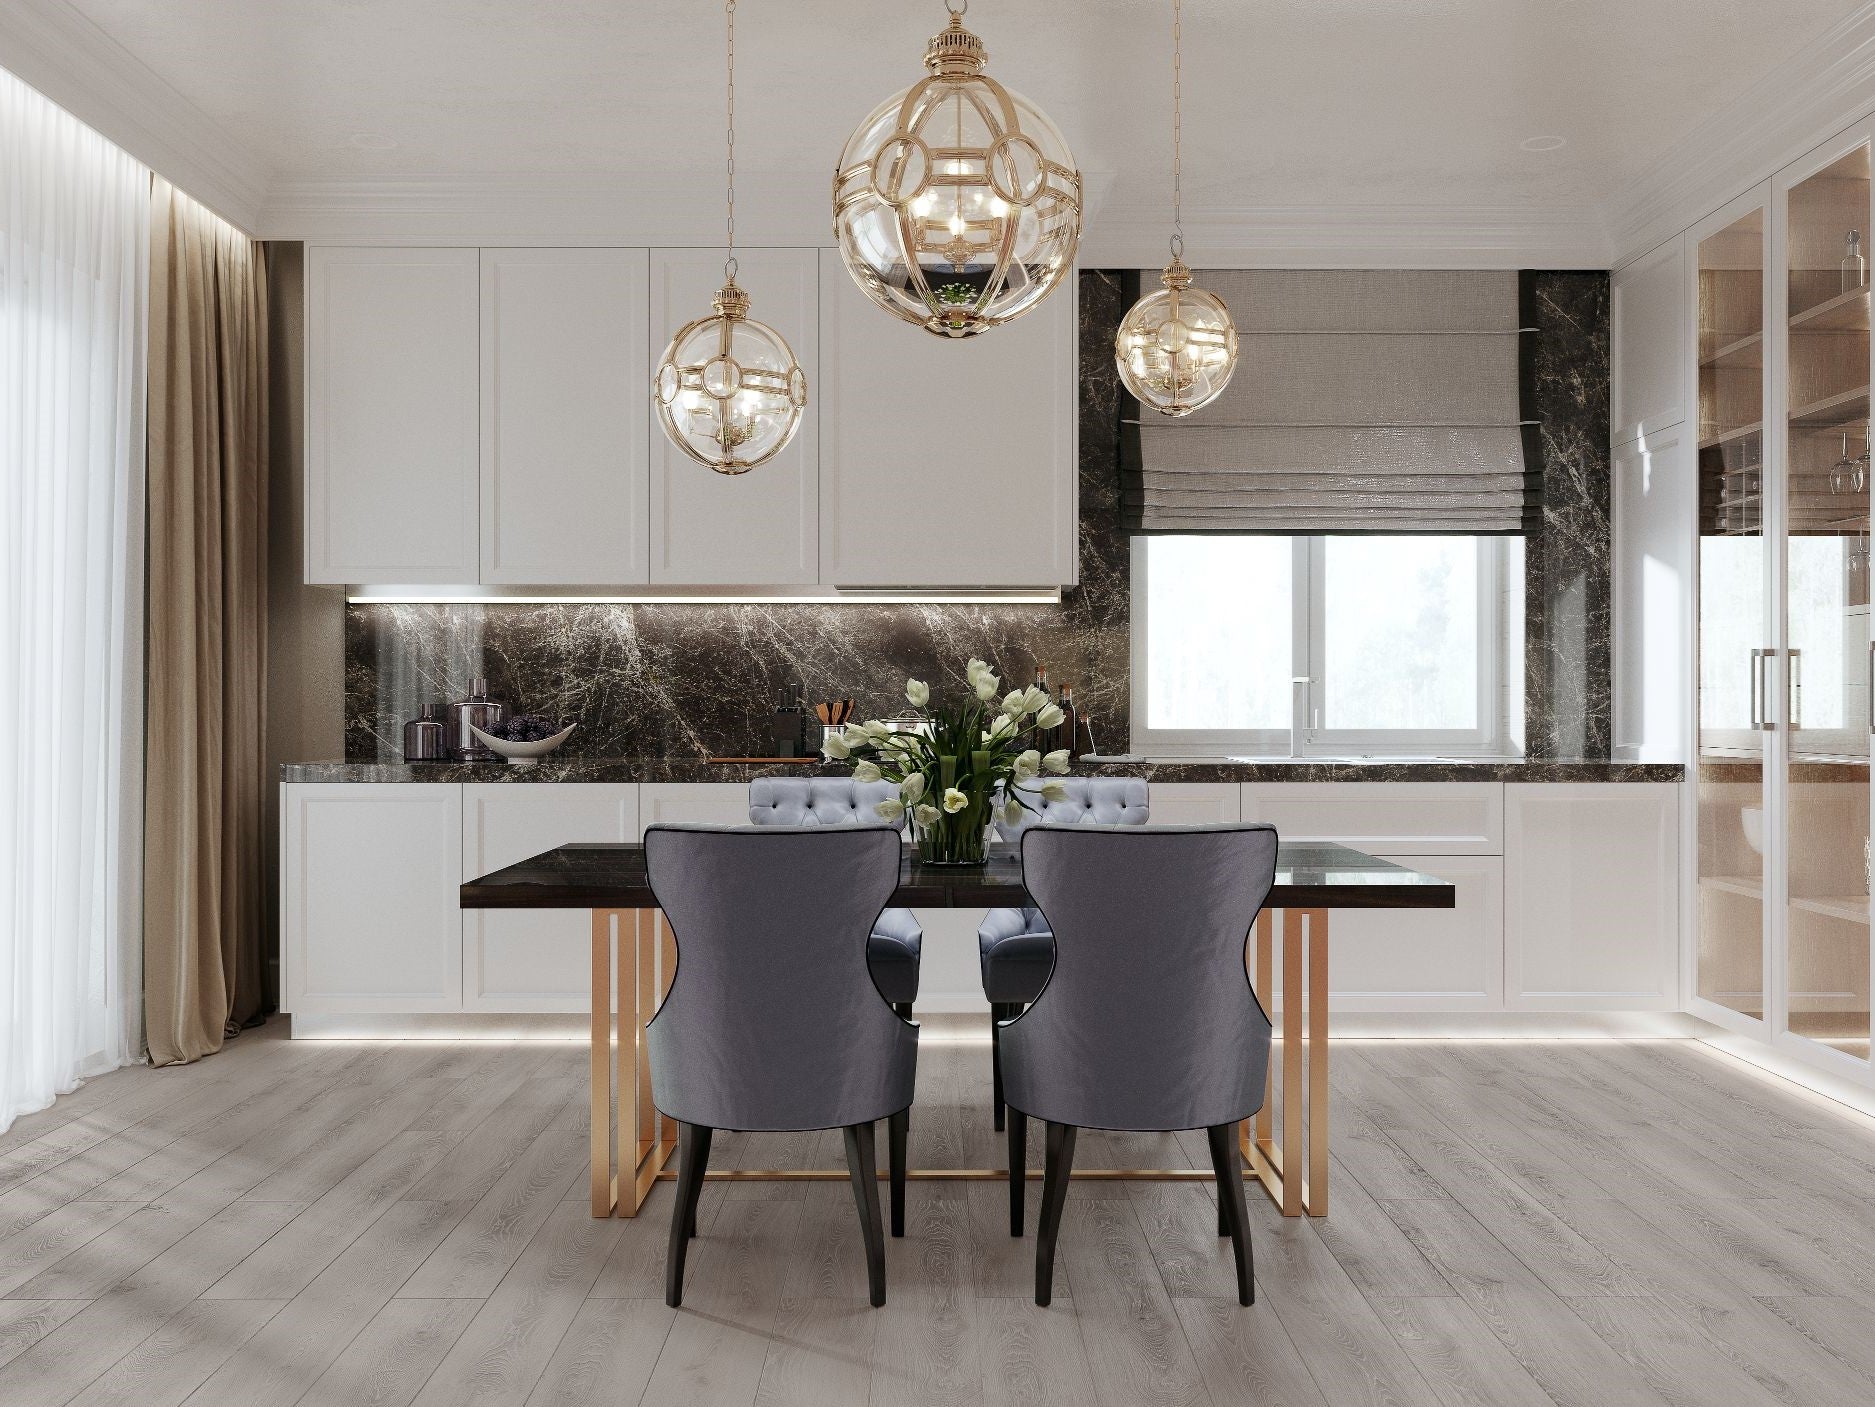
Does the fundamental process change due to the room I’m re-flooring? No, most spaces will lay the same. However, if your room is very large or an odd shape, it’s best to start laying planks from the middle of the room. We recommend using a chalk-line to mark the centre of the room and lining up this division with the middle of the first row of vinyl planks. If you’re remodelling a bathroom, it’s worth noting that bathroom units may need to be professionally removed if you cannot cut around them. Do I need to remove the skirting boards and wall trim? Yes – at the very least, remove the skirting boards. This will ensure smoother edges where the plank meets the wall and will allow the installation process to go much smoother. If the room has trimmings that are irremovable, you will need to create cut-outs in the flooring. You can reintroduce your skirting boards and trims immediately after installation. What is an underlayment and why should I purchase this? Our vinyl plank flooring is a ‘floating’ floor that clicks into place over an underlayment, meaning that there is no need for any adhesive and making it particularly easy to install. The underlayment is a very high-density foam that conceals any minor unevenness in the subfloor, whilst securing that the click-joint remains in place. This also adds to the comfort and appearance of your finished flooring. How much vinyl plank flooring should I buy? You will find detailed information about sizing in the product descriptions on our website. Always measure carefully to guarantee you have enough flooring to cover your entire space. If you have any other questions, you can contact our dedicated team to find out more.
Source: Hardwood Floor Store
You Will Need
Now that we’ve shown you why your new floors should be vinyl plank floors, we’ll take you through the incredibly easy DIY installation process step by step. Read on to find out how to install vinyl plank flooring.
Vinyl plank flooring
Crowbar
Hammer
Level
Square tool
Tape measure
Utility knife
Self-leveller / sander / sealant (if needed)
Chalk-line (if needed)
Prep Your Space
Before you begin laying down your brand-new luxury vinyl plank flooring, your subfloor (the foundation underneath your previous flooring) must be dry, flat and clean. If you do need to prep your subfloor, we recommend you do so least 24 hours in advance, so leave yourself plenty of time. There are various ways that you can do this, depending on your existing subfloor. It may be best to consult a professional if you have specific questions. In order to ensure that the planks lay down flat, and to provide an acoustic barrier that allows you to move freely without noise, you may need to purchase an underlayment to the same specifications as your room. The underlayment should be unrolled in the same direction as the vinyl flooring, further stabilising the boards placed on top. For further information on which underlayment to choose and the installation process, please contact our team. You will find completing your vinyl plank flooring project much easier if there are no trimmings for which to make concessions. Try to remove your skirting boards and other trim carefully before you begin, to be put back into place once the floor has been laid down.
Lay the First Row
Start off installing your new vinyl plank flooring by first deciding on the direction that your boards will face. Lay your first row alongside your first wall; this should be the ‘feature’ wall in the room, or the most visible wall in the room. Make sure that the final plank in the row is at least half the size of a full-sized plank, as both the first and last plank must not be smaller than half in size. If your final plank is too small, shorten your first plank until both planks fit these requirements and the row fits perfectly.
Cut to Size
Cut the boards with a utility knife by measuring the new edge with the square tool and running your knife lighting along the side of the tool to score it – no need for the mess or noise of a saw. Avoid dividing the plank by sawing through the board all in one go, light touches are best. The plank should easily snap off once flipped over. If not, don’t panic, just continue to score until it comes away.
Join Planks Together
Once you are happy with your row, you can snap the planks together and lock them into place. You’ll have your first row done in no time, with no glue or nails needed! As vinyl plank flooring is as flexible as it is tough, it’s simple to manoeuvre the boards into place without applying too much force.
Stagger the Second Row
For a truly natural wood-look floor, vary the lengths of the boards at either end of the second row to prevent them from lining up with the first row in obvious uniformity. To do this, use the remainder of the last plank of the first row as the first plank on the next row. Also, try not to use planks from only one box in one row. We recommend that you mix up the boxes to ensure a range of colour and pattern combinations for the most natural-looking finish. If you have a particularly stubborn plank, use a hammer to gently tap the plank into the click-joint so that the row lays down flat, being careful that nothing else shifts out of place.
Create Cut-outs for Cabinets
While we recommend that you remove all wall trims beforehand, our vinyl plank flooring has been designed so that you can easily create cut-outs of individual boards to make room for irremovable wall elements. Carefully measure these trims and mark them onto the vinyl plank before using a knife to score these lines until the cut-out has snapped off. You should now be able to slot the plank into the row without issue.
Continue the Process
If you follow these instructions, you should be done in an afternoon – not bad for a totally new and durable wood-look floor that will last you up to two decades!
Source: Hardwood Floor Store
That’s all there is to it. Congratulations – you’ve given your home a new lease of life with this high-quality, hard-wearing flooring. If you’ve not yet purchased from us, our cost-effective range of vinyl floors can be ordered in a variety of colour and style combinations. Now that you know how to easily install vinyl plank flooring, there’s nothing stopping you from finding the perfect flooring for your dream home. HAVE MORE QUESTIONS? CALL US

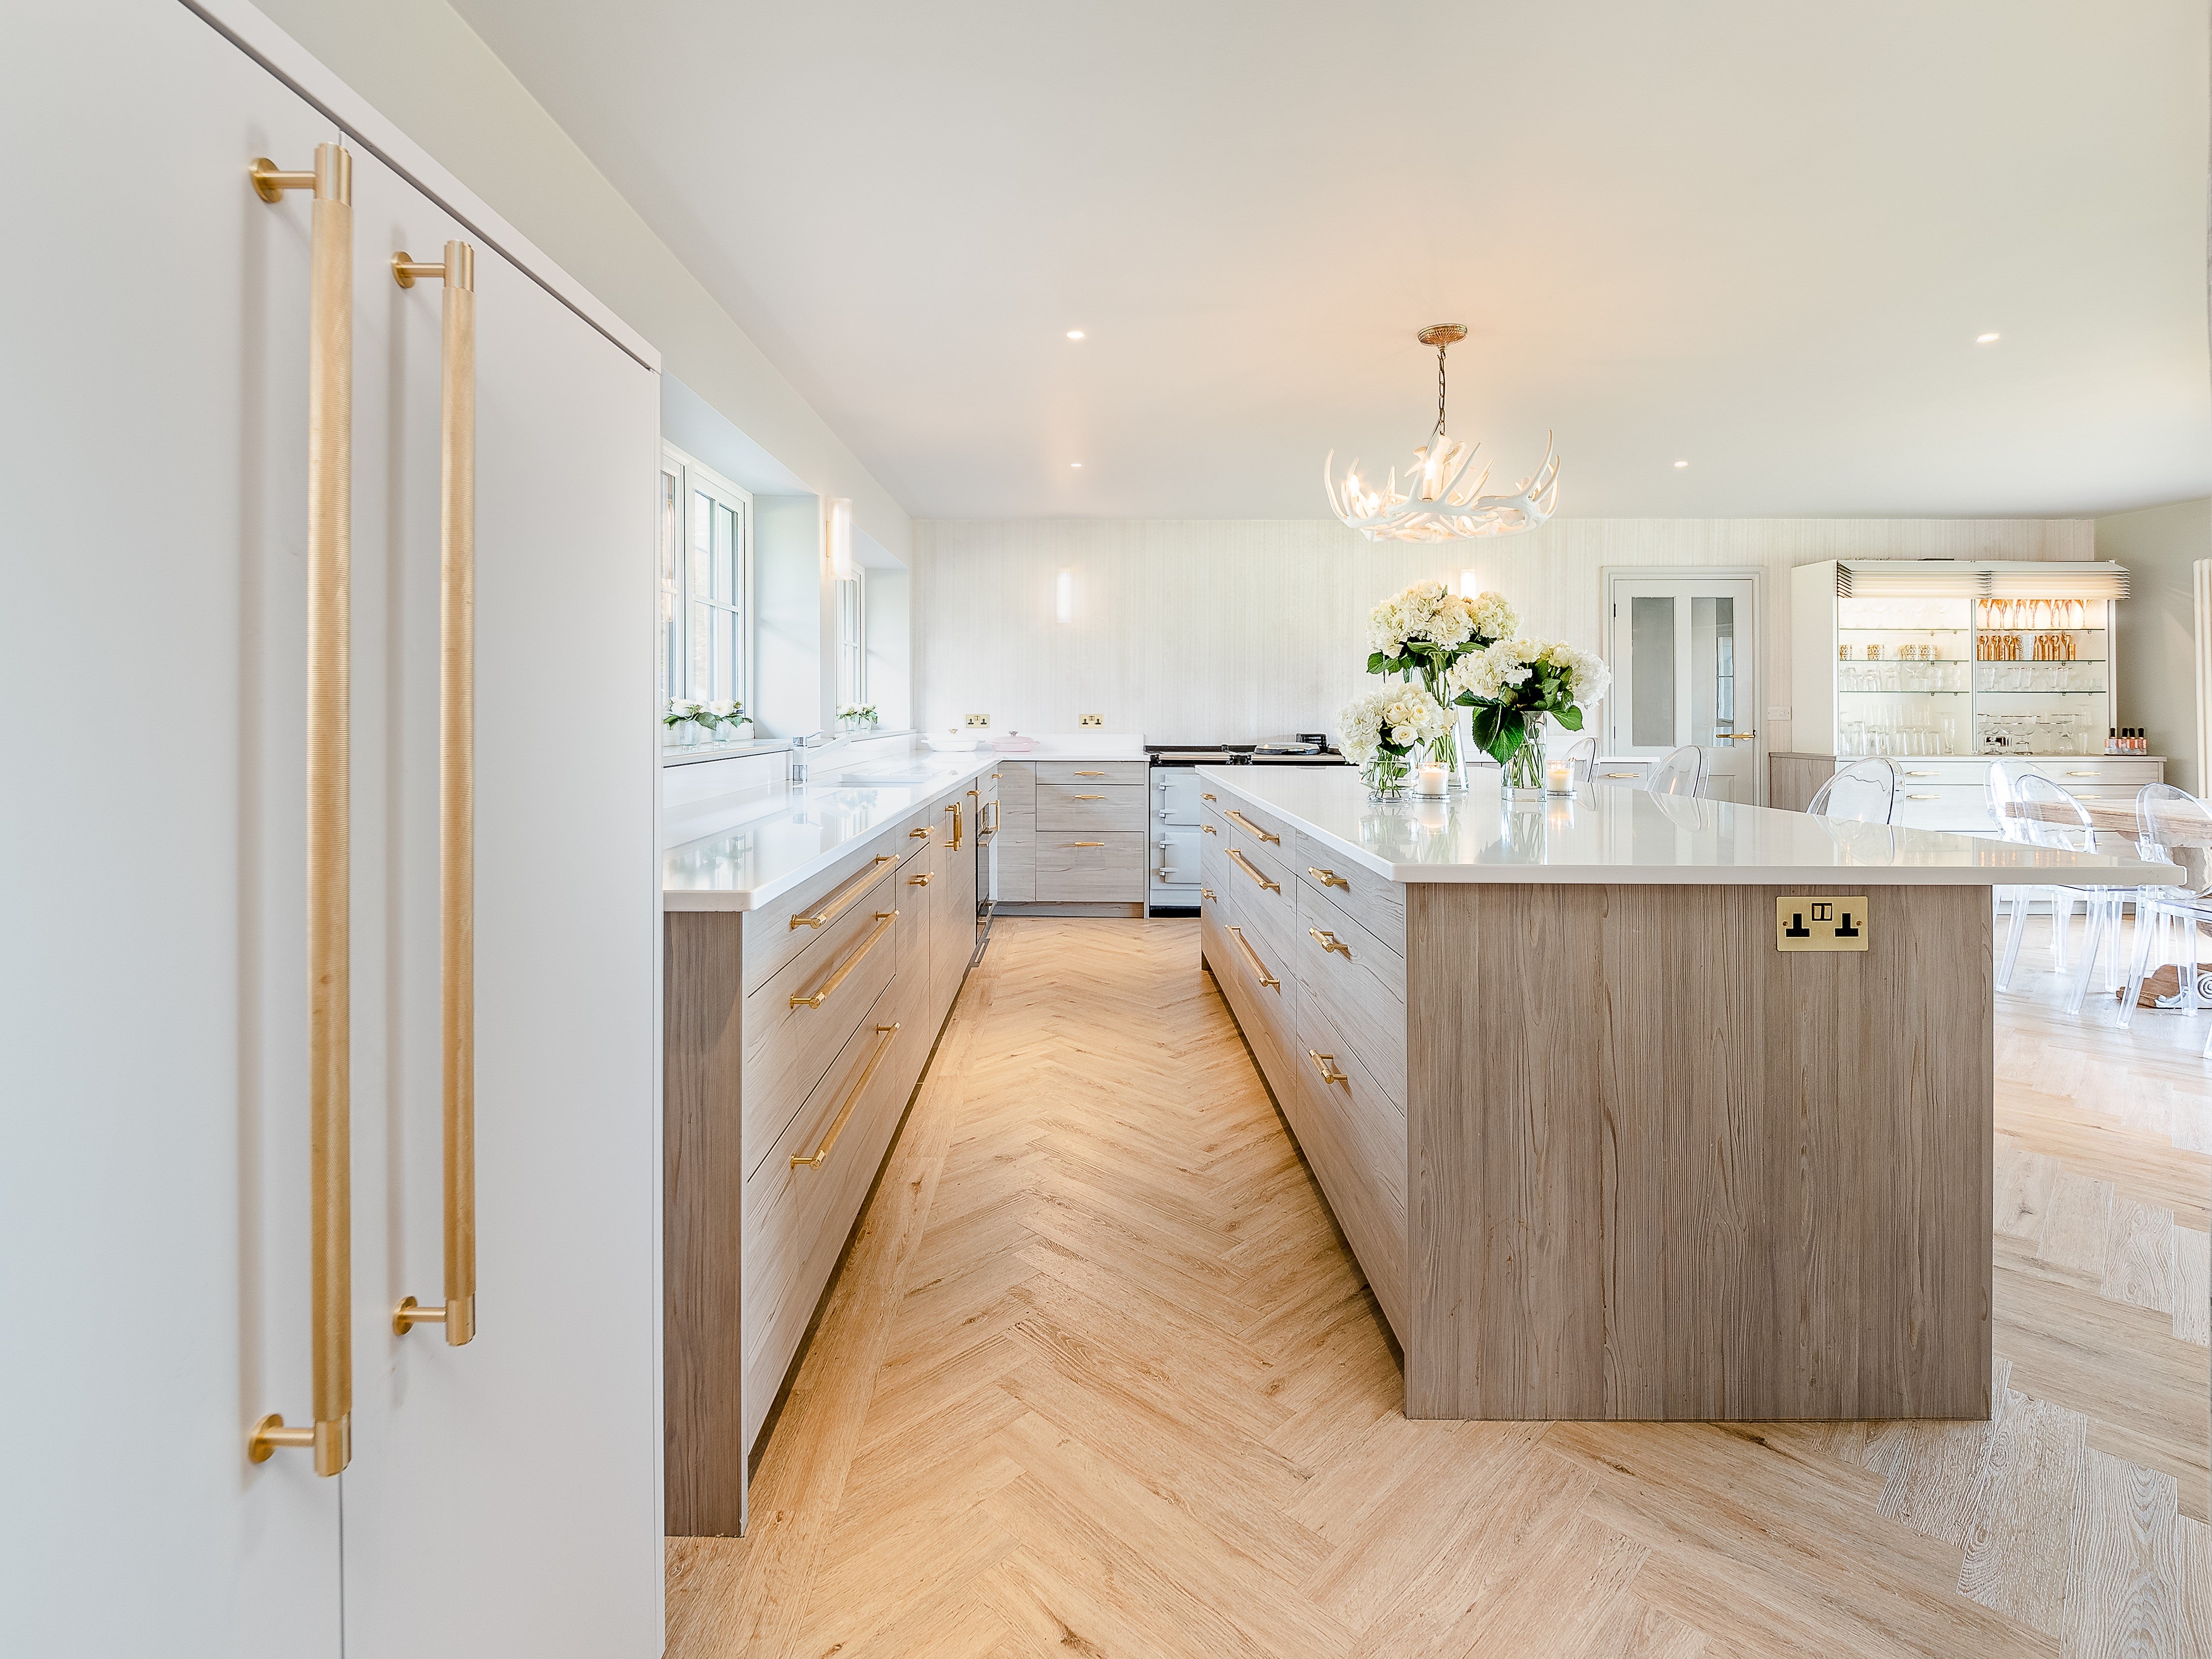
 Source: Hardwood Floor Store
 Source: Hardwood Floor Store
 Source: Hardwood Floor Store
 Source: Hardwood Floor Store